http://tesol2015ipadogogyabloominbetterwaytoteach.pbworks.com/
and listed in the CALL-IS Electronic Village program here: http://call-is.org/ev/schedule.php
My part of it is to show apps that can be used to help facilitate writing and make it fun, as shown on my Writing Apps page. My particular focus is on using voice tools for this, and for using apps like Educreations and Word Clouds to jazz up writing projects with media and visuals. Links associated with Vance's part of this presentation can be found here http://tinyurl.com/vance2015writing.
Meanwhile, stop presses! While giving a version of this workshop on March 28, 2015 at the ISTE conference in Philadelphia, one of my attendees showed me where Google had got round to adding this feature in its latest version of the Docs app. Now there is a big plus + on the Docs tool bar and a pull down that allows you to add tables, comments, and IMAGES! simply and easily.
So there is no need to read further except as a historical footnote. There is no longer a complicated need for a desktop view workaround in order to add images to your Google Docs. This also gives a single example of how much you learn by taking the opportunity to give workshops at conferences.
The tutorial posted here was referenced in both the above presentations
Originally posted
Historical footnote ...
Meanwhile, stop presses! While giving a version of this workshop on March 28, 2015 at the ISTE conference in Philadelphia, one of my attendees showed me where Google had got round to adding this feature in its latest version of the Docs app. Now there is a big plus + on the Docs tool bar and a pull down that allows you to add tables, comments, and IMAGES! simply and easily.
So there is no need to read further except as a historical footnote. There is no longer a complicated need for a desktop view workaround in order to add images to your Google Docs. This also gives a single example of how much you learn by taking the opportunity to give workshops at conferences.
The tutorial posted here was referenced in both the above presentations
Originally posted
THURSDAY, MARCH 19, 2015
Historical footnote ...
On a PC, generating wordles at http://wordle.net, saving them to a device with a discernable file structure, and inserting your graphics into your Google Docs is straightforward, so I was surprised to find that on iPad it is anything but. One of my co-presenters, Dani, put me on to a wordle-like app, Word Clouds by ABCYa. It's free and it generates attractive word clouds from text you paste into it; for example:
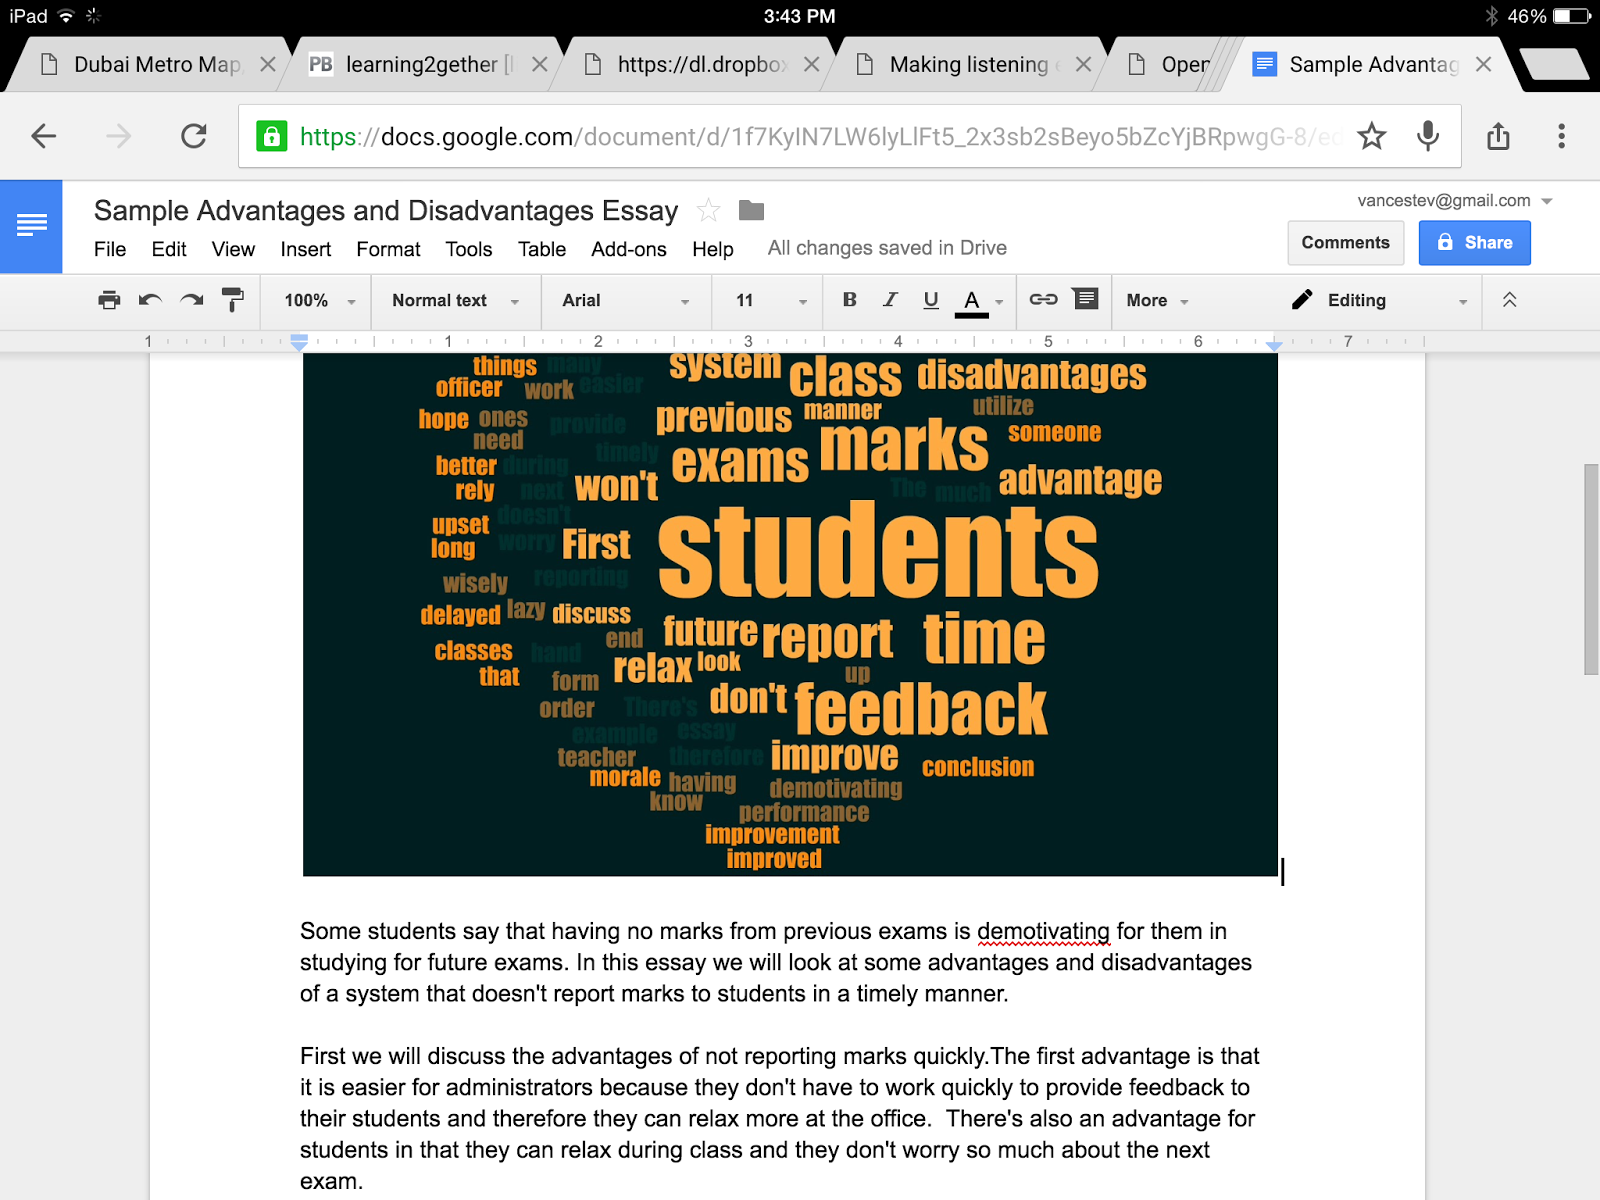
I made a screen shot of this image so it was stored in the Camera Roll on my iPad. Unfortunately however, there is no way to get this image into a composition being prepared in Docs on the iPad through the current version of the app itself (there is no image insert feature in that app) so to do this, we must resort to trickery!
We have to work through a browser app on the iPad and point it to http://drive.google.com. In one of the videos I watched explaining the process (http://instructionaltechtalk.com/add-images-google-docs-ipad/).
Jeff Herb says that Chrome works best, so I used Chrome in this tutorial. Incidentally what follows is what I found on and captured from my iPad. This is a little different from the way it appeared to work in Jeff Herb's video, but I was able to follow the principle, and hopefully this will help you to figure it out on your own idiosyncratic iPad.
Jeff Herb says that Chrome works best, so I used Chrome in this tutorial. Incidentally what follows is what I found on and captured from my iPad. This is a little different from the way it appeared to work in Jeff Herb's video, but I was able to follow the principle, and hopefully this will help you to figure it out on your own idiosyncratic iPad.
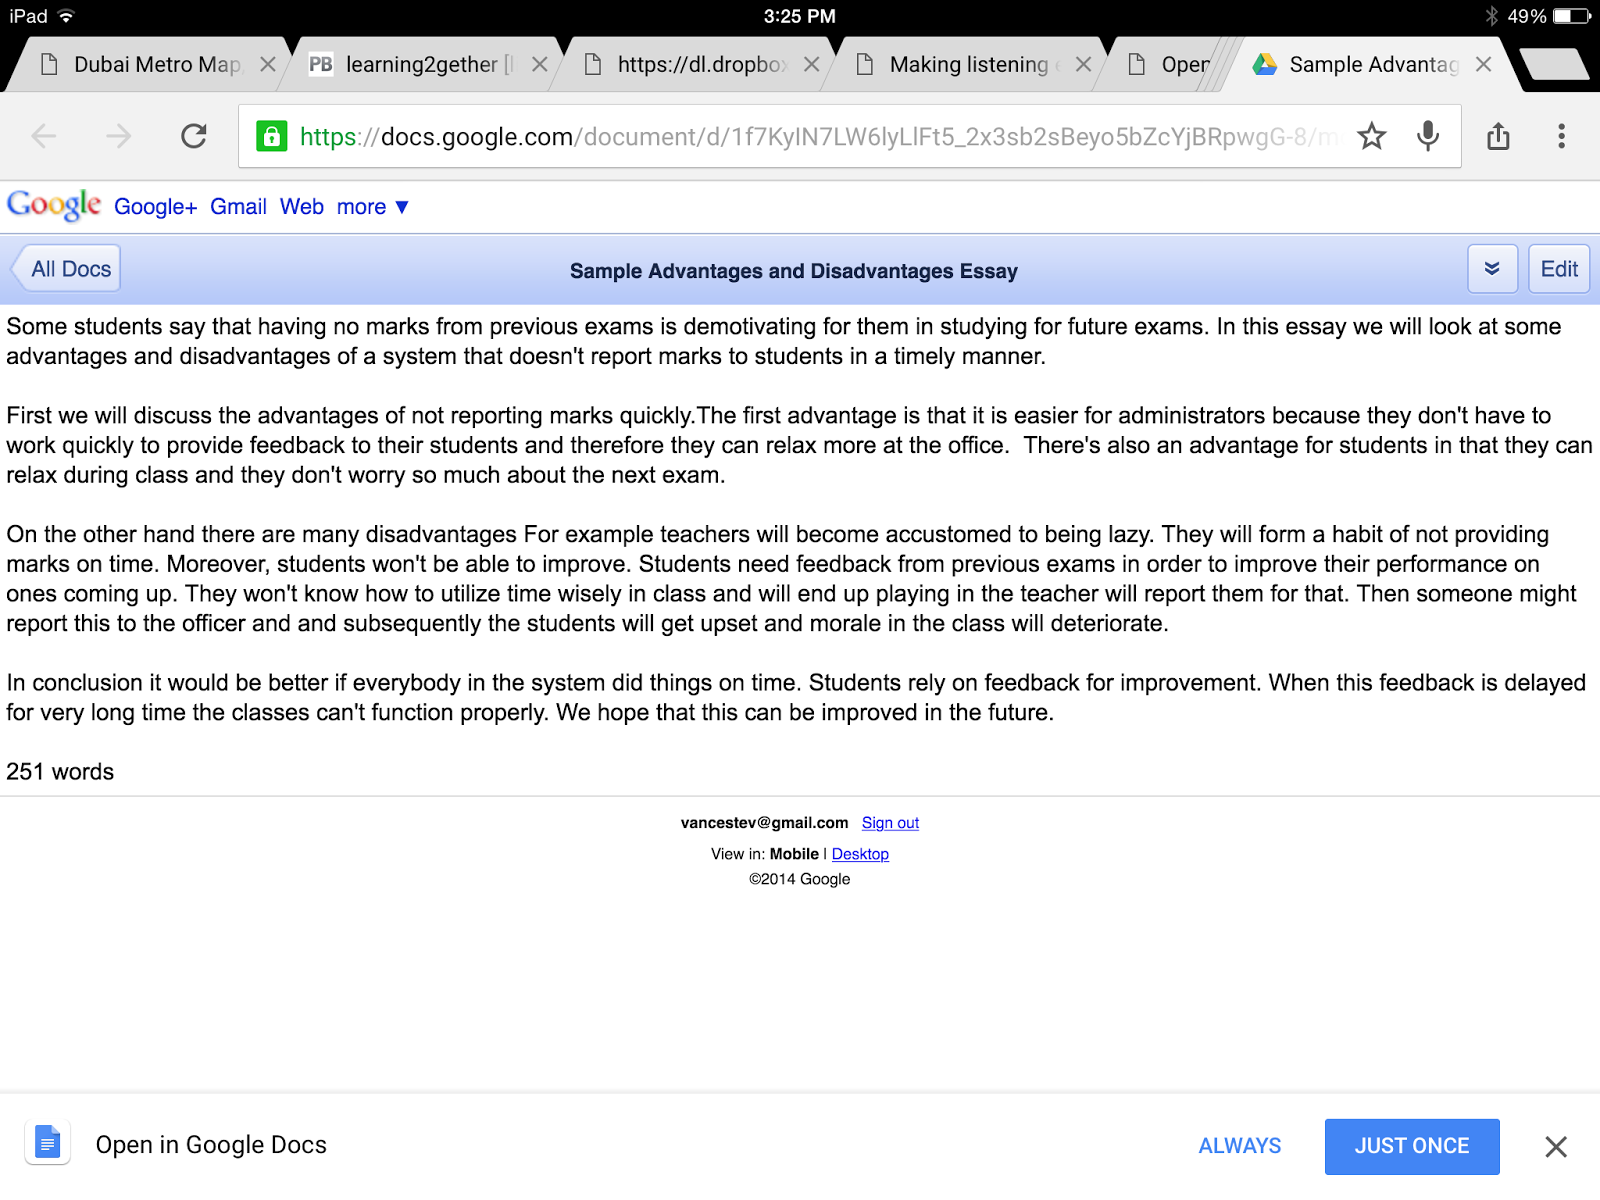
On my iPad http://drive.google.com brought up the MOBILE version of DRIVE in my Chrome browser app. Check that you see "mobile" in the URL as shown in the screen capture below (if you don't you may have to watch the video yourself and figure out the intermediate steps, or Google for a better explanation):
You can now browse your folders and find the file that generated your word cloud.
When you've found your file, open it and click on the little box in the upper right part of the screen with the arrow pointing out of it -- here, between the search tool and the X.
In the next screen expand the pulldown chevron left of the EDIT button ...
Select "Use Desktop Version"
Are you sure? You bet! Continue to Desktop Version :-)
Here you'll find the missing formatting tools you are looking for. Pull down Insert / Image, and you'll soon be in familiar territory.
Now we'll see how Insert / Image in desktop view works on an iPad. First choose an image to upload
Now tell it you want to choose an existing image, unless you want to take one on the spot
Opt for the Camera Roll, if that's where your image is
The rest is easy: find your image in the Camera Roll
Click on it, and the image is inserted

Congratulations, you've done it! But you might notice that in this view the normal iPad shortcuts do not appear to work. Most notably, you can't press on a word and select it or copy, cut, or paste. To resume working on your Google Doc return to the Docs app, where you will find your image intact:


No comments:
Post a Comment